Blow Molding Setup: Reduce Changeover Times for Bottles
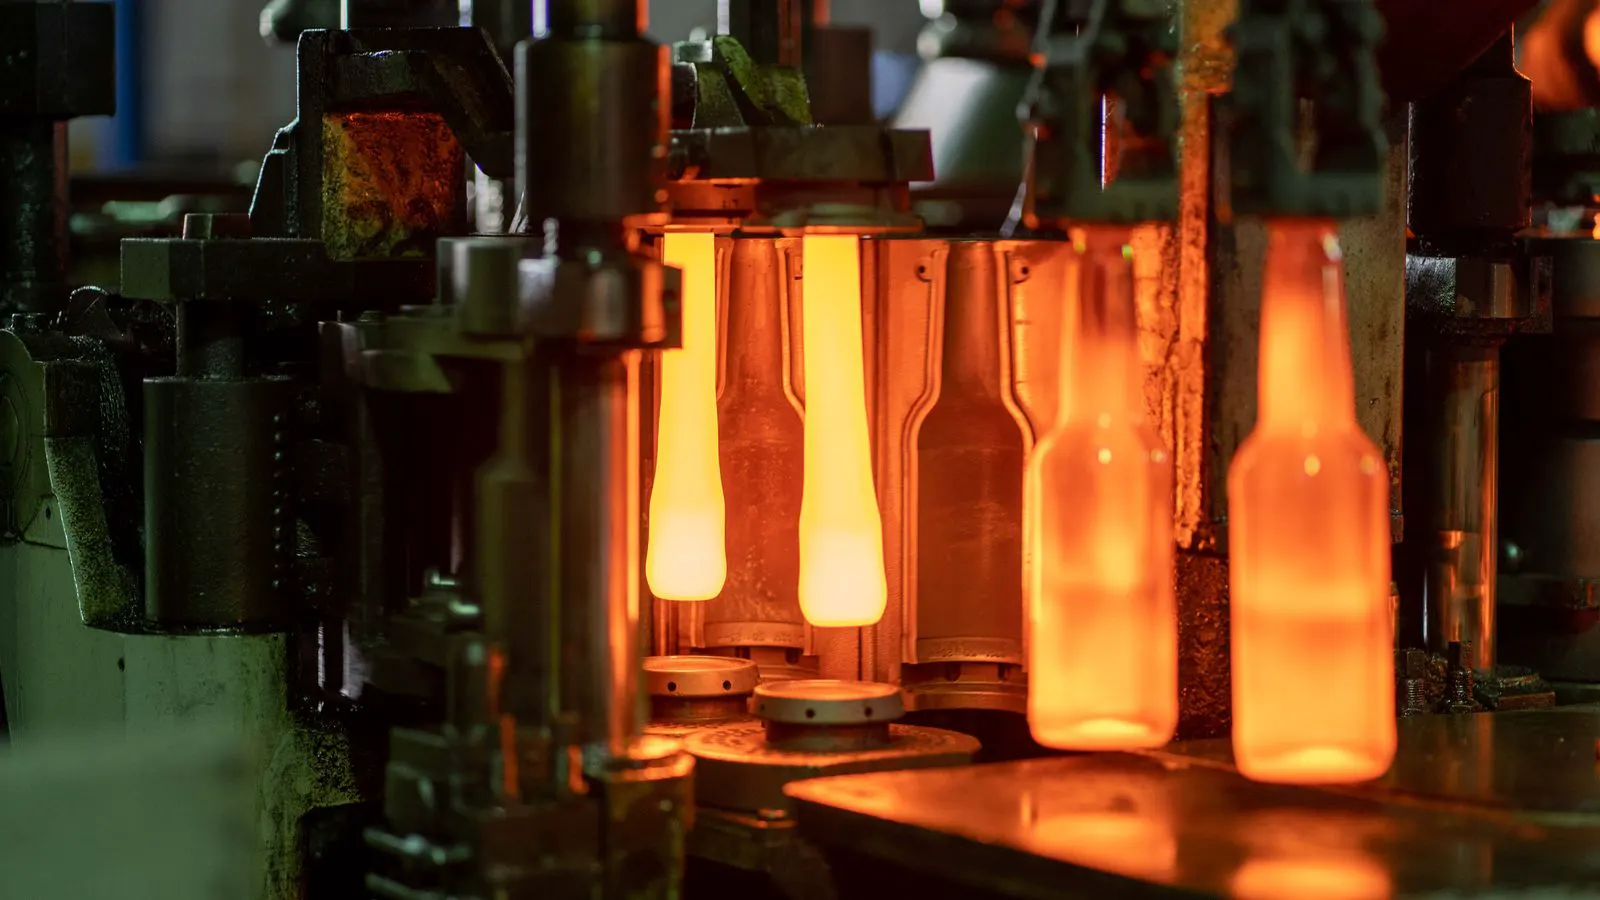
A disciplined blow molding setup reduces changeover time and prevents scrap. This guide covers mold preparation, machine parameters, and pre-start checks to keep bottle lines running efficiently.
- A standardized mold changeover checklist prevents missing steps and reduces downtime.
- Pre-heating the mold and verifying nozzle alignment directly impacts part quality and cycle stability.
- Recording machine parameters for each bottle type speeds up future setups.
- A final sample inspection after the first cycle catches setup errors before full production.
Why Setup Discipline Matters on the Bottle Line
Every changeover between bottle types costs production time, energy, and potential material. A slow or sloppy setup creates scrap in the first hours of the next run, delays the next shift, and frustrates the operator. A well-organized blow molding setup turns a stressful task into a repeatable process.
The goal is to move from one bottle design to the next with minimal guesswork. Operators should know exactly where the parameters are stored, how to check the mold, and what to expect in the first sample. This guide walks through the prerequisites and the step-by-step actions that support a fast, reliable changeover.
Prerequisites Before You Start
Do not begin the changeover until the current production run is finished and the area is safe. Clear the mold area of any remaining bottles or trim. Verify that the machine is in a safe state, usually by stopping the cycle and engaging the guard if required.
Gather the documents you need before touching the machine. These include the bottle drawing, the mold number, the resin lot information, and the previous run’s parameter sheet. If your site uses a digital recipe system, pull up the recipe for the new bottle type. Having these items ready removes the need to search for information while the mold is open.
Confirm that the new mold is clean and free of damage. Check the cavity, the nozzle, and the air inlet. A small chip on the mold edge can create a flash line on the first part. A dirty nozzle can cause uneven inflation. A quick visual check here saves you from troubleshooting later.
Step-by-Step Mold Changeover Process
The actual changeover follows a logical order. Preparing the machine, installing the mold, aligning the parts, and setting the parameters. Each step has a reason. Skipping one can lead to a failed sample or a longer changeover than necessary.
-
Prepare the machine and the new mold.
Clean the mold cavity and the nozzle. Check the air inlet for blockage. This step ensures that the new part will fill evenly. A blocked air inlet is a common cause of a weak part or a long cycle time. -
Remove the old mold and install the new one.
Follow the lock-out procedures for your specific machine. Remove the retaining bolts or clamps. Lift the old mold out and place the new mold into position. This is the physical core of the changeover. Use the correct tools to avoid damaging the mold threads. -
Align the mold and verify the locking mechanism.
Close the mold and check that the two halves are aligned. Tighten the clamps evenly. Misalignment is the most common cause of flash at the parting line. If the mold is not square, the bottle will have a visible seam and the operator will have to adjust the mold repeatedly. -
Check the nozzle and air inlet alignment.
The nozzle must be centered over the mold cavity. The air inlet must point directly into the cavity. If the nozzle is off-center, the bottle will be lopsided. If the air inlet is misaligned, the part will not inflate to the correct shape. -
Set the machine parameters from the recipe.
Enter the cycle time, mold temperature, air pressure, and air volume for the new bottle. These values are not guesses. They are based on the resin, the mold, and the part design. If you do not have a recipe, start with the values from a similar bottle and adjust based on the first sample. -
Pre-heat the mold if required.
Some molds need to be pre-heated to a specific temperature to prevent warping or to ensure a smooth surface. This step adds time, but it is necessary for certain materials. If you skip pre-heating, the first part may have a stress mark or a poor finish. -
Run a test cycle and inspect the first part.
Run the machine for one full cycle. Take the part and inspect it. Check the height, the weight, the surface finish, and the seam. This is the first real test of your setup. If the part is not correct, adjust the parameters and run another test cycle. -
Record the setup and parameters.
Once the first part is good, write down the final parameters. Note the cycle time, the air pressure, and any adjustments you made. This record helps the next operator and makes the next changeover faster. It also helps you identify if a parameter is drifting over time.
Common Mistakes That Slow Down Changeover
Many operators lose time because they repeat the same mistakes. Here are the ones that show up most often.
-
Not checking the mold before installation.
A dirty or damaged mold causes defects that are hard to fix once the machine is running. A five-minute check saves an hour of scrap. -
Guessing the parameters.
Using parameters from a different bottle type without checking the recipe leads to poor parts. The operator spends time adjusting the machine instead of producing. -
Skipping the pre-heat step.
This is common when the changeover is in a hurry. The result is a first part with a stress mark or a poor finish. The operator has to wait for the mold to heat up, which adds to the downtime. -
Not aligning the mold properly.
Flash at the parting line is a clear sign of misalignment. Fixing it after the first part is out takes more time than checking it before. -
Failing to record the parameters.
If the operator does not write down the final settings, the next changeover starts from scratch. This defeats the purpose of a standardized setup.
How to Keep Changeover Times Consistent
Consistency is the key to reducing changeover time. If every operator follows the same checklist, the changeover time will be similar every time. Use the table below to track the typical tasks and the reason for each.
| Task | Reason for the Step |
|---|---|
| Clean mold and nozzle | Prevents flash and uneven inflation |
| Verify mold alignment | Prevents parting line flash and misshapen parts |
| Enter recipe parameters | Ensures correct cycle time and part quality |
| Pre-heat mold if needed | Prevents stress marks and poor surface finish |
| Inspect first sample | Catches setup errors before full production |
A consistent setup also makes it easier to identify problems. If the changeover time suddenly increases, you know which step is taking longer. If the first sample is always bad, you know which parameter needs adjustment. This data helps you improve the process over time.
Final Verification Before Full Production
The setup is not complete until you have verified the part. Do not start the full production run until the first sample is approved. Check the part against the drawing. Measure the height, the diameter, and the weight. Check the surface for any defects.
If the part is good, start the production run. Keep a sample of the first part in a designated location. This is your reference. If the part quality changes during the run, you can compare it to the first sample. If there is a problem, you can trace it back to the setup.
A well-executed blow molding setup is not just about speed. It is about reliability. It ensures that the machine is ready to produce good parts, that the operator is confident in the settings, and that the next changeover will be just as smooth. By following these steps and avoiding the common mistakes, you can reduce downtime and keep your bottle line running efficiently.
Frequently asked questions
How much time does a standard mold changeover take?
It depends on the machine, the mold, and the operator's experience. A well-trained operator with a prepared checklist can complete a standard changeover in a matter of minutes. Without preparation, it can take much longer.
Can I use the same parameters for different bottle types?
No. Each bottle type has a different mold, a different resin, and a different part design. The parameters must be adjusted for each type. Using the wrong parameters leads to poor parts and wasted material.
What is the first sign of a misaligned mold?
Flash at the parting line is the most common sign. If you see flash, the mold is not aligned. Stop the machine and adjust the alignment before running more parts.
How do I know if the mold needs pre-heating?
The mold manufacturer or the resin supplier will specify if pre-heating is required. If you are not sure, check the mold documentation or ask your process engineer. Skipping pre-heating can cause defects.
What should I do if the first sample is not good?
Stop the machine. Inspect the part to identify the problem. Check the mold alignment, the nozzle, and the parameters. Adjust the issue and run another test cycle. Do not start full production until the part is approved.