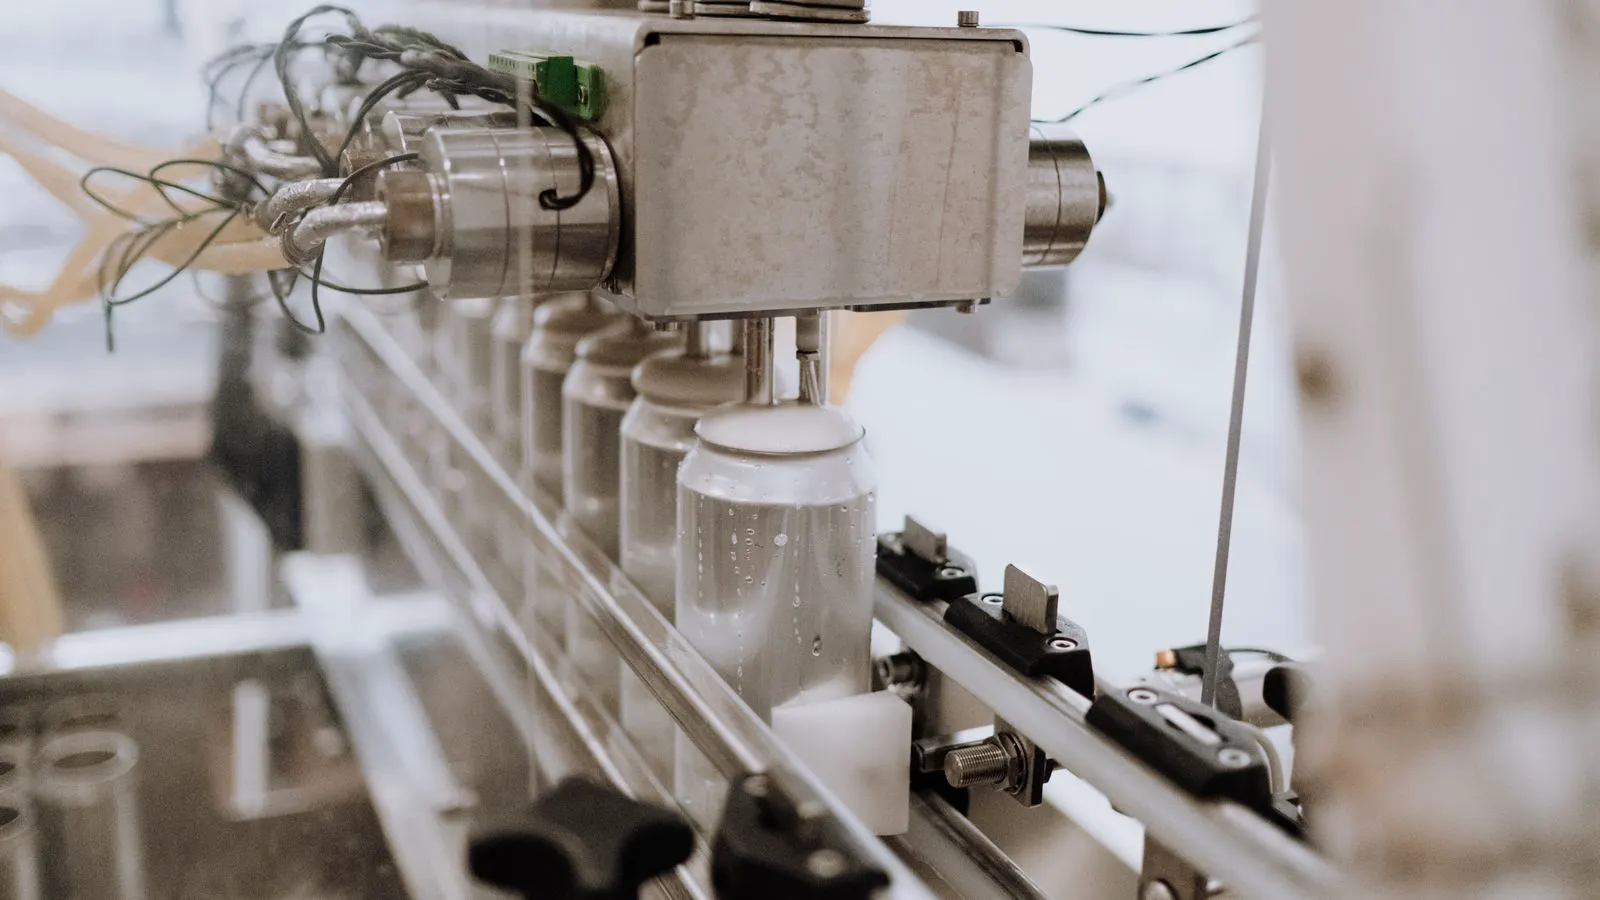
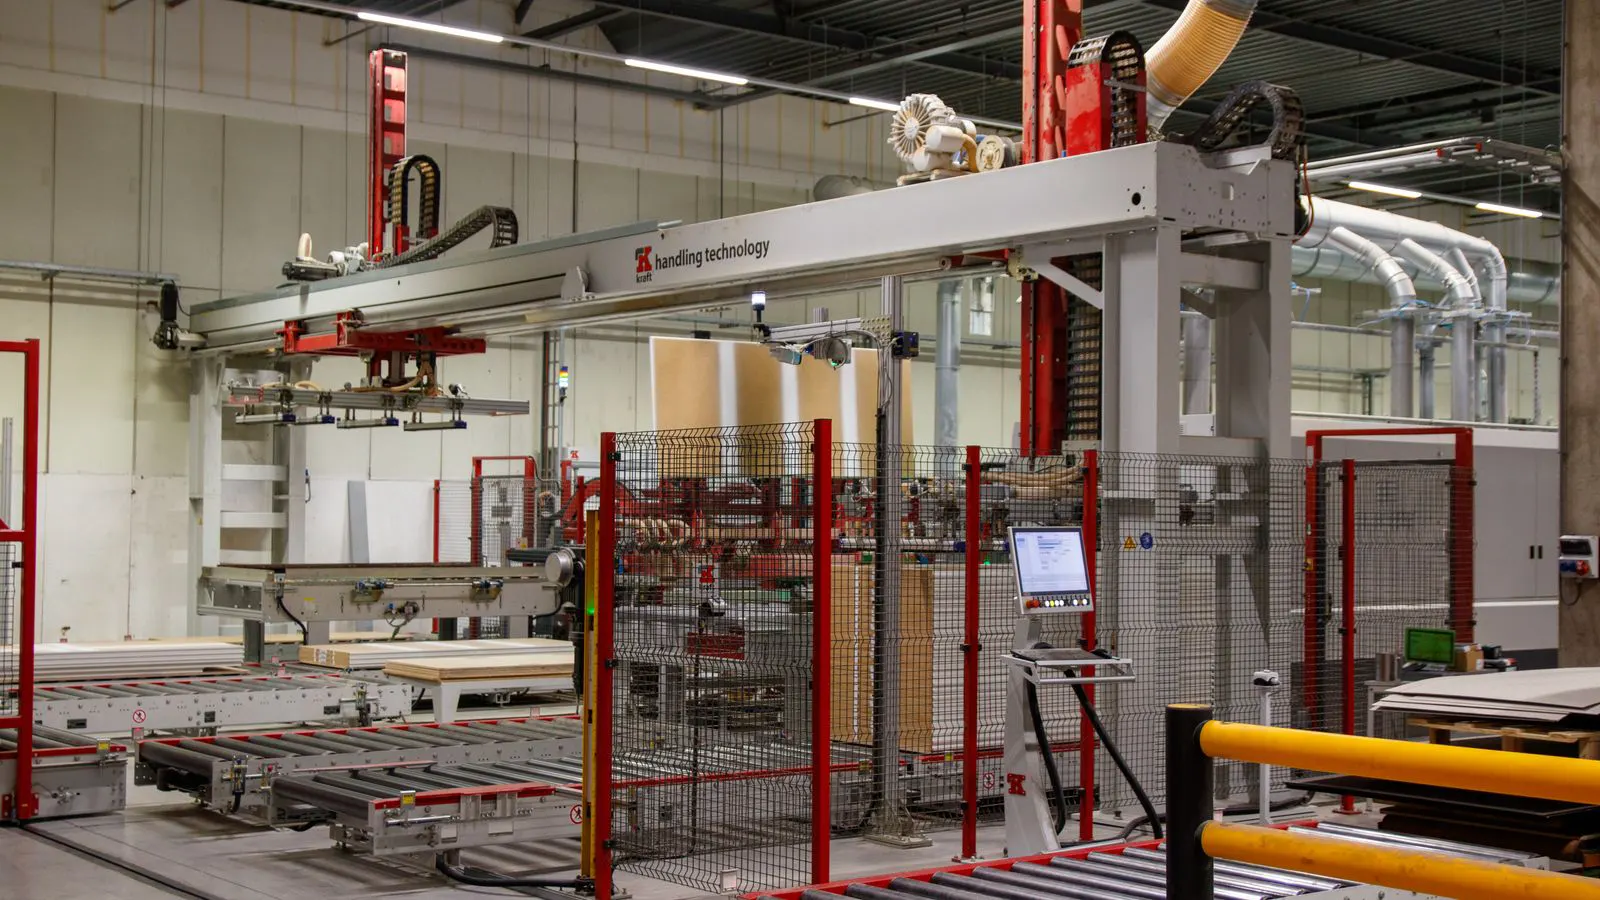
Blow Molder Buyers Guide: Sizing for High-Volume Bottle Lines
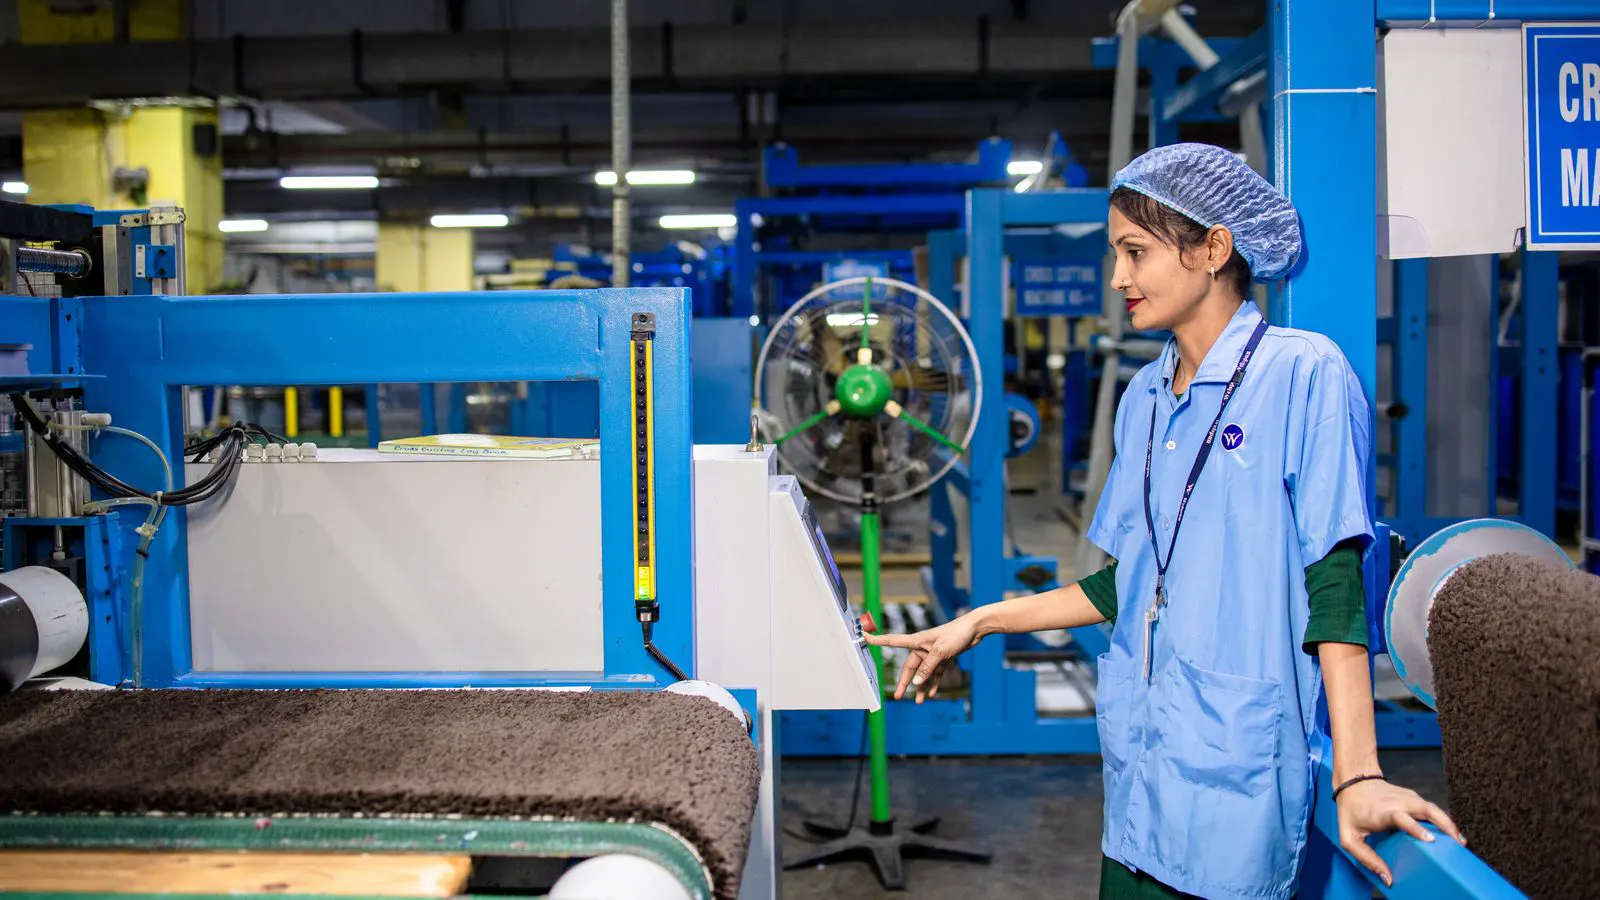
To size a blow molder for high-volume bottle lines, match machine tonnage to bottle weight and mold cavity count to target output. Calculate required cycles per hour using cycle time. Prioritize mold temperature control and preform heating uniformity to maintain yield.
- Calculate required cycles per hour using bottle weight, cycle time, and target throughput
- Match machine tonnage to preform weight and mold cavity capacity simultaneously
- Verify preform heating uniformity and mold temperature control before finalizing machine selection
- Factor in changeover time, mold life, and maintenance windows when sizing for high-volume production
- Use the criteria table to compare vendor proposals against your production targets
Calculate the required cycles per hour before selecting a machine
Start with your production target, not the machine specification sheet. High-volume bottle lines demand precise cycle time calculations. If you plan to produce 20,000 bottles per shift, you need to know the exact cycle time per bottle and the number of cavities in the mold. Divide the target output by the available production hours and by the cavity count to get the required cycles per hour.
Consider a 24-hour shift with 20,000 bottles. That is 833 bottles per hour. If the mold has four cavities, each cycle produces four bottles. You need 208 cycles per hour. At a 60-second cycle time, that gives you 60 cycles per minute, which exceeds the requirement. The math works. But cycle time is not static. It depends on preform heating, blow pressure, mold cooling, and cooling of the finished bottle. A 60-second cycle time may become 75 seconds when ambient humidity rises or when the mold cooling water temperature fluctuates.
Build in buffer time. A 15 to 20 percent buffer accounts for minor stoppages, mold adjustments, and quality checks. In a high-volume line, even a small loss of cycle time compounds over thousands of bottles. The machine you select must handle the worst-case cycle time, not just the ideal case.
Match machine tonnage to preform weight and process pressure
Tonnage refers to the maximum clamping force the blow molder can apply. For blow molding, tonnage determines which preform sizes and bottle shapes the machine can handle. A 2-ton machine may handle small PET preforms up to 10 grams each. A 10-ton machine can handle larger preforms up to 30 grams or more.
Do not select tonnage based on bottle weight alone. Consider the preform size, the mold cavity count, and the blow pressure required for the bottle geometry. A wide-neck bottle with a high shoulder angle requires higher blow pressure than a standard cylindrical bottle. The machine must deliver that pressure consistently across all cavities.
Check the clamping force distribution. In multi-cavity molds, the clamping plate must be flat and rigid. Uneven clamping force causes parting line leaks. Parting line leaks force the machine to use higher blow pressure to compensate. Higher blow pressure increases energy consumption and accelerates mold wear. In high-volume production, consistent clamping force is a reliability factor.
Choose cavity count based on cycle time and changeover constraints
Cavity count directly affects throughput. More cavities mean more bottles per cycle. A four-cavity mold produces four times the output of a single-cavity mold at the same cycle time. But more cavities also mean longer changeover times, higher mold costs, and greater sensitivity to preform variation.
For high-volume bottle lines, four to eight cavities is the typical range. Each additional cavity increases the complexity of mold design. The mold must distribute air evenly to all cavities. The preform feeding system must deliver identical preforms to each cavity. A single defective preform in one cavity can create a defective bottle, but in a four-cavity mold, the other three bottles may still be good. In a single-cavity mold, one bad preform stops the cycle.
Changeover time matters. If you switch between bottle designs, a complex multi-cavity mold takes longer to change over. A simpler mold with fewer cavities may be easier to adjust. For a line that runs one bottle design for weeks, a high-cavity-count mold makes sense. For a line that switches between multiple designs daily, a lower-cavity-count mold may be more flexible.
Evaluate the changeover process. Does the mold have quick-release clamps? Are the air distribution ports easy to clean? Can the mold be swapped without re-aligning the entire machine? In high-volume production, even 30 minutes of changeover time per week adds up to significant lost output.
Verify preform heating uniformity and mold temperature control
Sizing a blow molder is not only about tonnage and cavity count. It is also about process consistency. Preform heating uniformity determines whether the plastic flows evenly during blow molding. Mold temperature control determines the surface finish, dimensional stability, and cooling time of the finished bottle.
Preform heating uses infrared lamps or heating zones that warm the PET preform before it enters the mold. If the heating is uneven, the plastic flows unevenly. You get thickness variation, neck ringing, and weak points. A high-volume line cannot tolerate these defects. Each defective bottle is a lost bottle and a waste of material.
Mold temperature control uses coolant channels in the mold to regulate the temperature of the plastic as it solidifies. Inconsistent mold temperature causes warping, poor surface finish, and extended cooling times. A mold that cools unevenly may take longer to release the bottle. That extends the cycle time. In a high-volume line, a 5-second increase in cooling time per cycle can reduce output by several hundred bottles per shift.
Before finalizing machine selection, request a preform heating uniformity test. Ask the vendor to show you the heating zone calibration data. Verify that the mold temperature control system can maintain a consistent temperature across all cavities. A machine with excellent tonnage and cavity count will still underperform if the heating and cooling systems are inconsistent.
Evaluate the criteria table for machine selection
Use the criteria table below to compare vendor proposals against your production targets. Each criterion connects a machine specification to a real production outcome.
| Criterion | What to look for | Why it matters |
|---|---|---|
| Clamping force | Match to preform weight and mold size | Ensures uniform clamping, prevents parting line leaks, maintains blow pressure consistency |
| Cavity count | Match to target output and changeover frequency | Determines bottles per cycle and affects changeover time and mold complexity |
| Cycle time | Verify worst-case cycle time with buffer | Ensures the machine meets production targets during peak conditions and quality checks |
| Preform heating | Check heating zone calibration and uniformity | Prevents thickness variation, neck ringing, and weak points in the bottle |
| Mold temperature control | Verify coolant system capacity and uniformity | Maintains surface finish, dimensional stability, and consistent cooling time |
| Changeover design | Look for quick-release clamps and easy air port access | Reduces lost time when switching between bottle designs |
| Energy efficiency | Check power consumption per cycle | Lowers operating costs over the life of the machine |
| Maintenance access | Verify ease of access to critical components | Reduces downtime for routine maintenance and repairs |
When a vendor provides a specification sheet, cross-check every number against your production target. A machine that looks powerful on paper may not meet your actual cycle time requirement. A machine with a higher cavity count may not be practical if your changeover frequency is high.
Plan for maintenance windows and mold life
High-volume bottle lines run continuously. The machine must handle thousands of cycles per week. Mold life is a critical factor. A well-designed mold for PET bottles can last for millions of cycles. But the mold is subject to wear. The air distribution channels, the cavity surfaces, and the clamping plate all degrade over time.
Plan for mold replacement or refurbishment. If the mold is replaced every 2 years, factor that cost into the machine selection. A machine that requires a specific mold type may limit your options. A machine that accepts multiple mold types gives you flexibility.
Maintenance access matters. If the machine requires a large area to service the heating elements or the mold cooling system, your plant layout may become a constraint. If the machine has modular components that can be swapped during a short window, you can minimize production loss.
Consider the availability of spare parts. If a critical component fails, the downtime can be measured in hours or days. A machine with widely available spare parts and local service support reduces risk. A machine with proprietary components and limited service coverage can create long downtime.
In a high-volume line, downtime is expensive. Every hour the machine is down, you lose hundreds of bottles. The machine you select must be reliable, maintainable, and supported by a service network that can respond quickly.
Closing decision checklist
Use this checklist before signing a purchase order.
- Calculate the required cycles per hour for your target output, including a 15 to 20 percent buffer for stoppages and quality checks.
- Verify that the machine tonnage matches the preform weight and the blow pressure required for your bottle geometry.
- Confirm that the cavity count aligns with your changeover frequency and mold complexity constraints.
- Request preform heating uniformity test data from the vendor. Do not accept a machine without proof of consistent heating.
- Verify mold temperature control capacity and uniformity across all cavities.
- Evaluate changeover time and design. Measure the actual time to switch between two different bottle designs.
- Check energy consumption per cycle and factor operating costs into the decision.
- Verify maintenance access and spare parts availability for your region.
- Confirm that the machine can handle the worst-case cycle time, not just the ideal case.
- Review the vendor service agreement. Confirm response times for critical component failures.
Sizing a blow molder for a high-volume bottle line is a calculation problem. The answer is not the largest machine or the highest cavity count. The answer is the machine that meets your cycle time, your preform weight, and your changeover frequency with enough buffer for real production conditions. Do the math. Verify the heating. Check the cooling. Then select the machine.
Frequently asked questions
How do I calculate the required cycles per hour for my bottle line?
Divide your target output by available production hours and by the mold cavity count. Add a 15 to 20 percent buffer for stoppages and quality checks.
Should I choose a higher cavity count for better throughput?
More cavities increase bottles per cycle, but they also increase changeover time and mold complexity. For high changeover frequency, a lower cavity count may be more practical.
How do I verify preform heating uniformity before purchase?
Request heating zone calibration data from the vendor. Ask for a test that shows consistent temperature across all preform positions.
What is the typical cavity count for high-volume bottle production?
Four to eight cavities is the common range. The exact count depends on your target output, cycle time, and changeover frequency.
How does mold temperature control affect cycle time?
Inconsistent mold temperature extends cooling time and causes warping. A well-controlled mold temperature system maintains consistent cooling and surface finish, reducing cycle time variation.